Expert Drywall Services You Can Trust in Wilbraham Ma
Licensed and Insured Drywall & Plaster Contractor with 24 Years of Experience, Serving Wilbraham Ma , Western Massachusetts and Connecticut.
5 STAR GOOGLE RATING
★★★★★
Ma License 137633
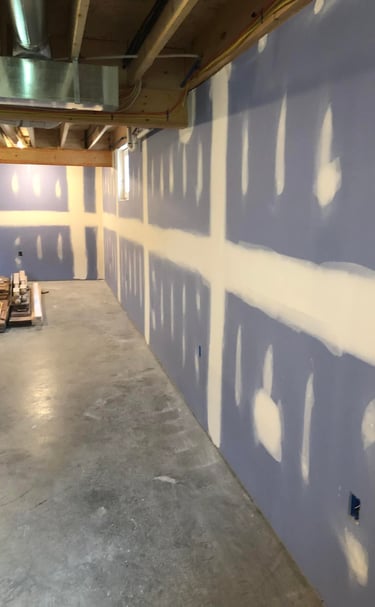
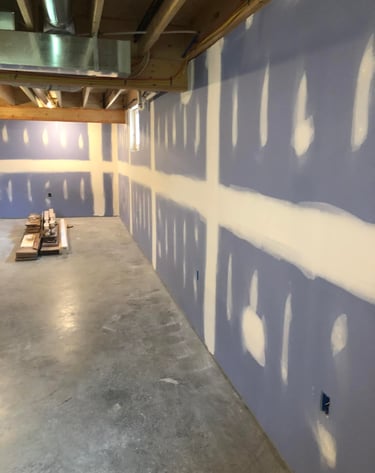
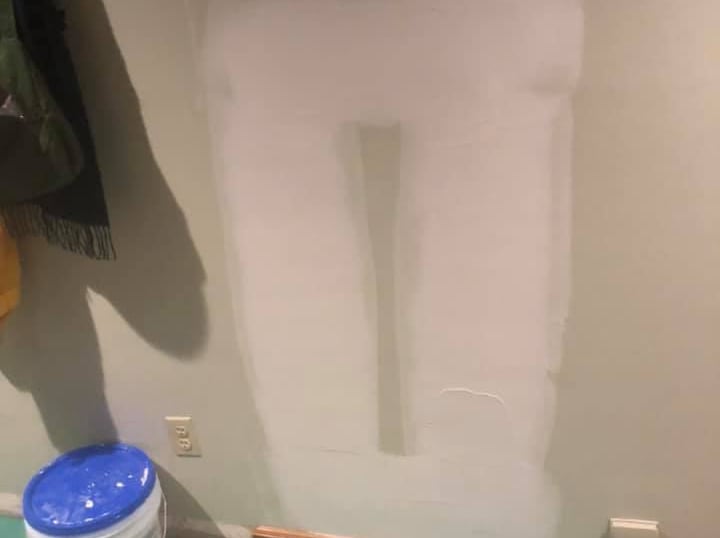
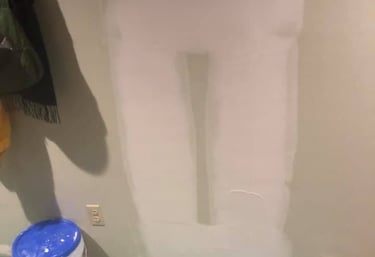
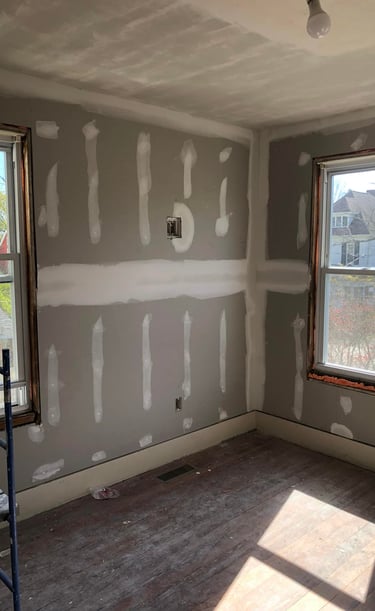
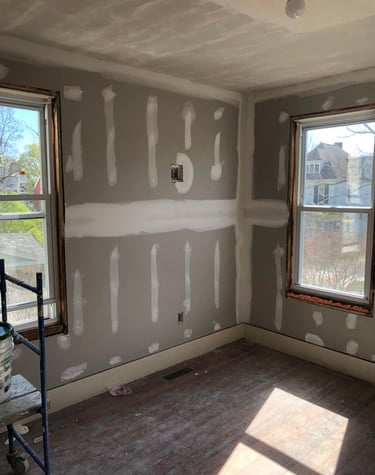
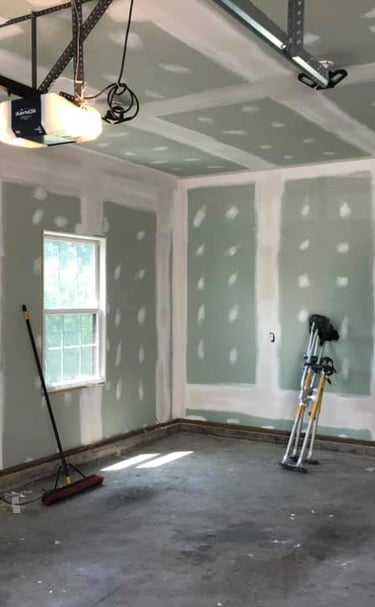
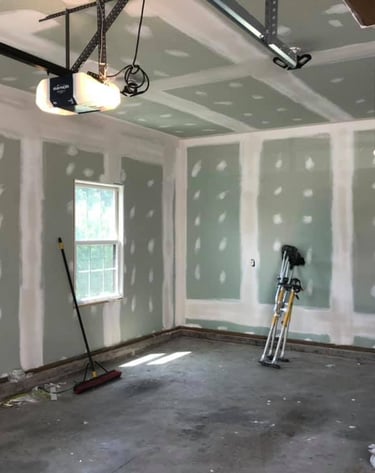
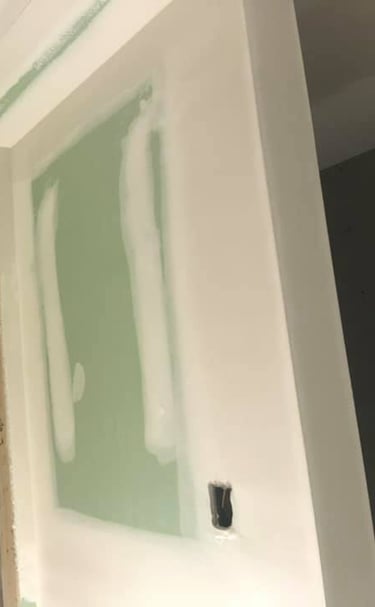
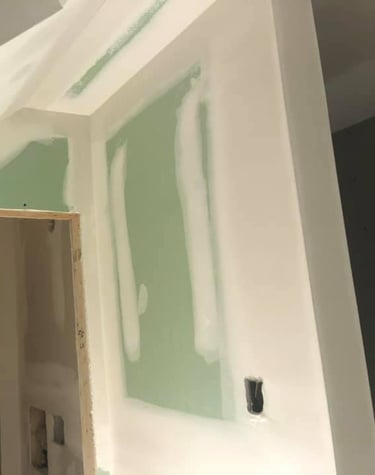
Drywall Repair
Comprehensive drywall repair services to restore your walls and ceilings to their original condition.
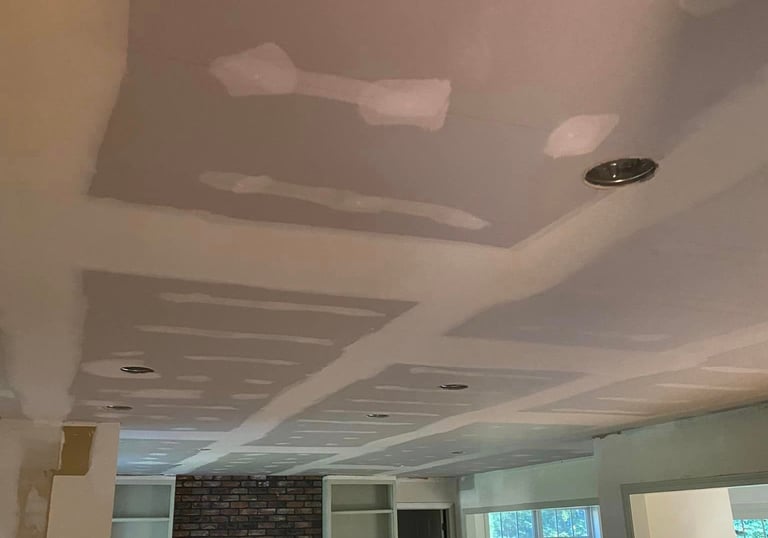
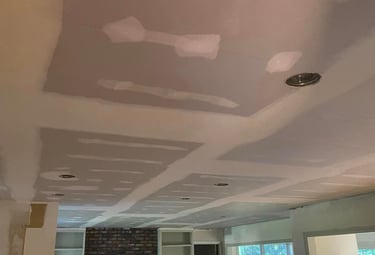
Drywall Finishing
Professional drywall finishing services for a smooth, polished look that enhances your interior spaces. Whether you hung it or we did.
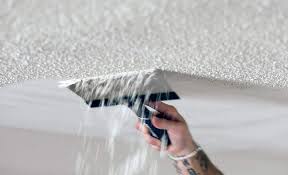
Transform Your Ceilings from dated to bright smooth and modern
Popcorn Ceiling Texture removal

Why Choose MrWalls Over the Competition
When it comes to drywall installation, repair, or resurfacing, Mrwalls Drywall & Painting stands out as the premier choice for homeowners seeking quality, reliability, and personalized service. As a fully licensed and insured company, we provide peace of mind that your project will be done correctly and beyond all industry standards. With 23 years of experience in the business, our expertise ensures that every job, big or small, is completed with precision and care. Our long-standing commitment to excellence has earned us a 5-star rating on Google, backed by countless satisfied customers who happily provide references to showcase our consistent delivery of outstanding results.
Unlike larger companies that often dispatch workers who may lack personal investment in the project, Mrwalls Drywall & Painting is a small, owner-operated business where the owner is onsite, actively working on your home. This hands-on approach guarantees meticulous attention to detail and a genuine commitment to your satisfaction. Our team takes pride in every project, treating your home as if it were our own. Choosing Mrwalls Drywall means choosing a company that prioritizes quality craftsmanship, trustworthiness, and a customer-first mentality, ensuring your home improvement project is completed to the highest standards.
Completing our contact form gets your information in our contact list . Then follow up by text with pictures of the work needed so we can provide a price or schedule an in person estimate. We can usually get started within a week for small repairs and taping only jobs. Larger jobs that involve supplying and hanging drywall will require 2 weeks before we start the job.