Learn what affects the cost to remove popcorn ceiling per sq ft, from ceiling condition and repairs to resurfacing and contractor quotes.
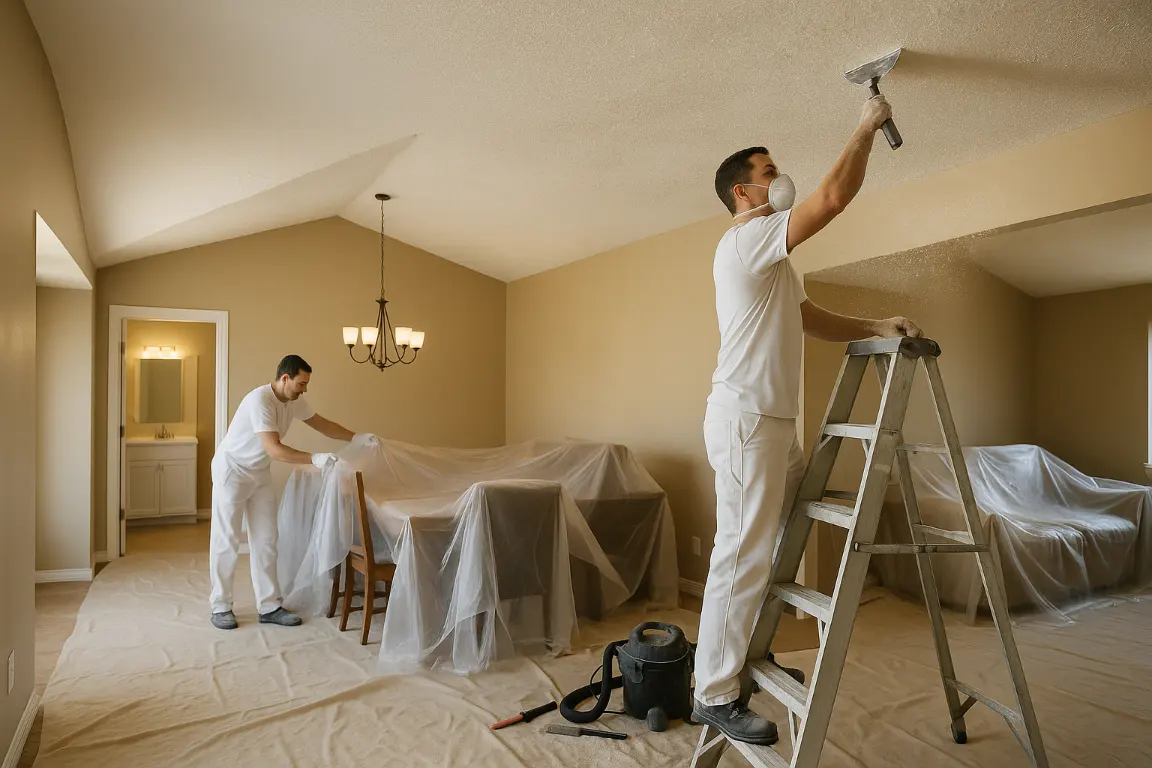
The cost to remove popcorn ceiling per sq ft usually runs from $2 to $3 per sq ft for simple scraping and refinishing un painted texture. Older homes, high ceilings, repairs, and testing can raise the total ceiling cost to $4-$6 per sq ft. For a typical room, the difference may come down to a manageable DIY project or professional removal by a qualified local contractor.
Before you budget, measure the ceiling rather than the floor. Include prep work, asbestos testing for pre-1980s popcorn texture, and the finish you want after popcorn ceiling removal. This guide explains how removal costs change by room size and project conditions.
Popcorn ceiling removal costs vary by square footage, but ceiling height, access, texture condition, repairs, containment, disposal, skim coating, and painting strongly affect the final price. Older homes should be tested for asbestos before disturbance. DIY removal may suit small, confirmed non-asbestos ceilings, while damaged, vaulted, or multi-room projects often need professional help. Depending on conditions, removal, skim coating, covering, or replacement may be best.
The cost to remove popcorn ceiling per sq ft varies by more than square footage. Ceiling height, popcorn texture condition, furniture protection, repairs, and painting all affect the final ceiling cost. Before a project begins, a professional may check for asbestos, asbestos popcorn, or ceiling asbestos. Your estimate and quote should break down labor, supplies, removal costs, texture removal, and painting. Costs can also rise for textured ceiling surfaces, high ceilings, or areas that need extra repair after popcorn removal. While diy removal may seem affordable, professional removal often delivers cleaner results with the right ceiling scrapers, painters, and preparation to remove popcorn ceiling safely.
Professional removal should leave your room ready for a clean, durable finish, not simply scrape texture from overhead. At MrWalls Drywall & Painting, a detailed estimate accounts for access, ceiling height, the age and condition of the existing texture, and any damage hidden beneath it. These details provide a clearer picture of removal costs than room size alone.
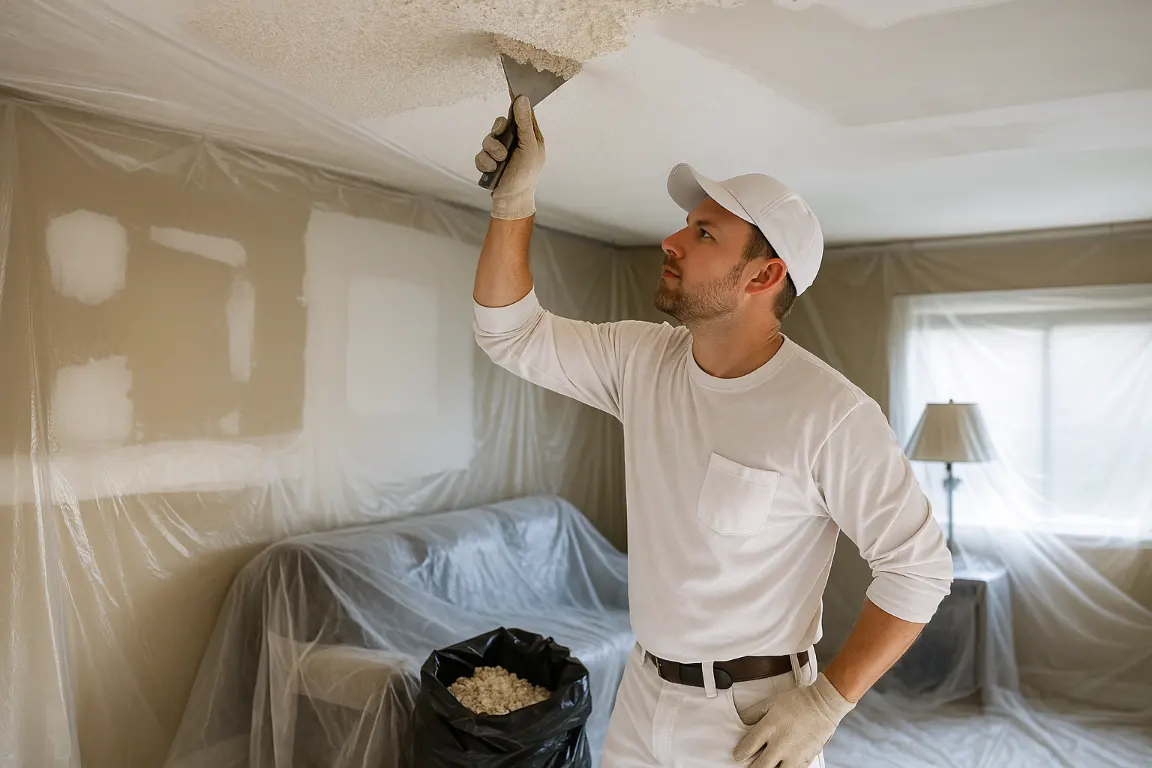
A complete quote for ceiling removal typically includes protection for floors, walls, fixtures, and nearby furnishings. It should also cover careful wetting and removal of the texture, debris bagging, and thorough cleanup. Proper containment is especially important in occupied homes, as popcorn texture can create substantial dust if handled carelessly. If a ceiling was installed before 1980, testing may be recommended before texture removal begins to identify materials requiring specialized handling.
The estimate should clearly explain what happens after the texture is gone. Scraping may reveal nail pops, seams, water stains, cracked drywall, or uneven areas that need repair. Many homeowners choose skim coating for a consistently smooth surface before primer and painting. These finishing steps may be itemized separately, but they are often essential for the polished ceiling homeowners expect.
When comparing quotes, look beyond the lowest number. Confirm whether repairs, disposal, site protection, cleanup, priming, and painting are included. Also ask how changing conditions will be documented. A clear scope helps prevent surprises and makes it easier to compare professional removal services based on workmanship as well as price.
| Quote item | What to confirm |
|---|---|
| Site protection | Floors, walls, fixtures, and nearby furnishings will be protected before work begins. |
| Texture removal | The quote includes carefully wetting and removing the existing ceiling texture. |
| Debris disposal | Debris will be bagged and disposal is included. |
| Cleanup and containment | The scope includes thorough cleanup and appropriate dust containment, particularly in occupied homes. |
| Ceiling access and condition | The estimate accounts for access, ceiling height, texture age and condition, and possible hidden damage. |
| Pre-1980 ceiling testing | Testing is addressed when the ceiling was installed before 1980 and specialized handling may be needed. |
| Repairs after scraping | The quote clarifies how nail pops, seams, water stains, cracked drywall, or uneven areas will be handled. |
| Skim coating | Confirm whether skim coating is included or listed separately to create a smooth surface. |
| Primer and painting | Confirm whether priming and painting are included or itemized separately. |
| Change conditions | Ask how newly discovered conditions and related scope changes will be documented. |
Room size is one of the clearest factors in popcorn ceiling removal cost, though it is not the only one. At MrWalls Drywall & Painting, we measure the full ceiling area in square feet and review access, popcorn texture condition, repair needs, and your preferred finish. A small bathroom may have less square footage but require detailed masking around fixtures. A large living room may offer a lower ceiling cost per square foot, although vaulted ceilings, heavy furniture, and limited access can increase labor.
For planning, a 10-by-12-foot bedroom has about 120 square feet of ceiling area. A 20-by-20-foot family room has about 400 square feet, while combined living and dining areas may exceed 600. Removal costs rise as the project grows because there is more texture to wet, scrape, collect, repair, prime, and paint. Still, homeowners often see better value when several connected rooms are included in one project. Setup, containment, supplies, and cleanup can then be shared. This can make the cost to remove popcorn ceiling per sq ft more favorable than pricing each room separately.
Condition matters, too. A textured ceiling with water stains, loose drywall tape, patchwork, or cracks may need repairs before painting. Painted-over popcorn ceilings can also take longer to remove than unpainted texture. If your home was built before the mid-1980s, arrange asbestos testing before any ceiling removal. Asbestos popcorn and ceiling asbestos concerns require careful handling, and professional removal or specialized abatement may be needed. While diy methods and ceiling scrapers may seem appealing, a professional assessment helps protect the room and clarify the full scope of work.
The most reliable way to compare prices is with an on-site estimate, not a single square foot figure. Detailed estimates should cover the ceiling area, furniture protection, texture removal, drywall repairs, disposal, priming, painting, and final cleanup. Ask whether the quote includes painters, labor, and any added costs for difficult access or repairs. That clear scope helps you compare popcorn removal options and understand the true cost to remove popcorn ceiling, whether you need to remove popcorn in one room or remove popcorn ceiling throughout the home. It also helps ensure the finish reflects the quality your ceilings deserve, not simply the fastest approach to removing popcorn.
A textured ceiling project is rarely priced by square footage alone. Your ceiling cost depends on the existing popcorn texture, the condition of the ceiling beneath it, room access, and the finish you choose. Experienced painters also factor in labor, containment, preparation, and specialized supplies. Prices and removal costs can rise when popcorn ceiling removal requires texture removal, ceiling removal, or careful work on older popcorn ceilings. If asbestos, ceiling asbestos, or asbestos popcorn is a concern, professional removal is essential. Avoid diy removal with ceiling scrapers until testing confirms the material is safe. A professional estimate or quote should explain the cost to remove popcorn ceiling per sq ft, or per square foot, and outline all costs for painting, popcorn removal, removing popcorn, and whether the project involves a simple texture update or the need to remove popcorn ceiling.
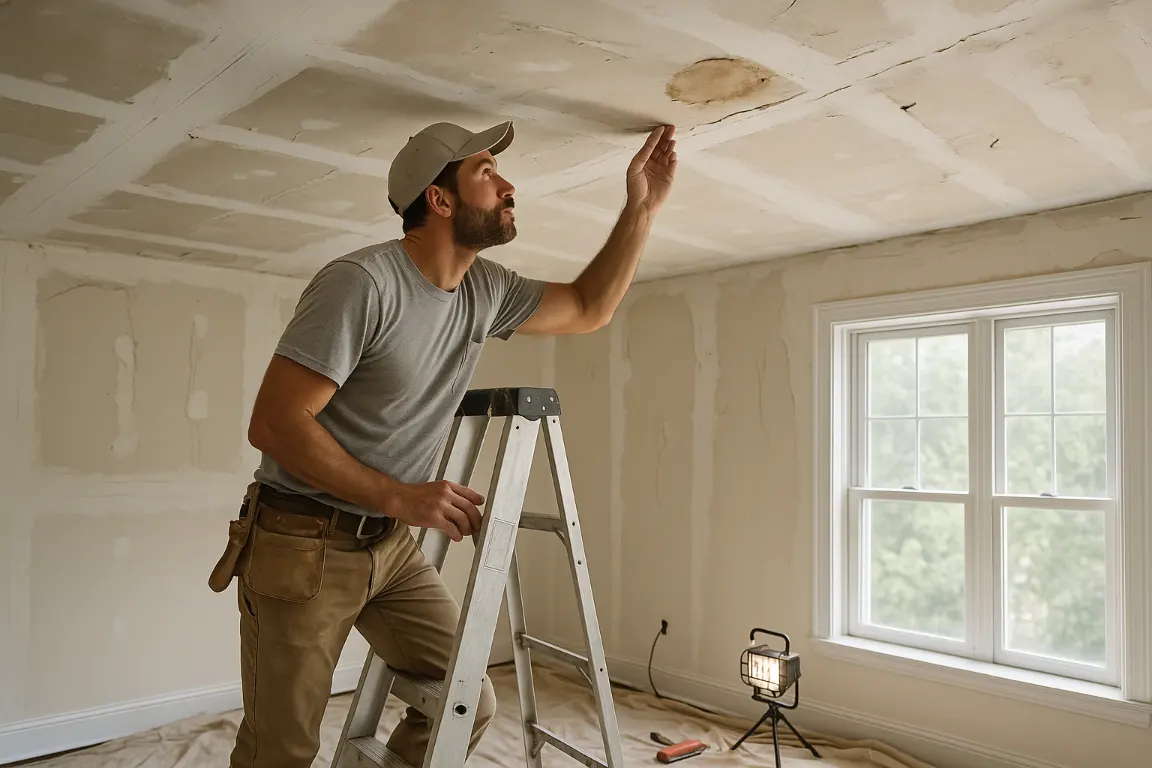
The largest price changes often appear after removing popcorn reveals what the old texture was hiding. Popcorn finishes can conceal hairline cracks, loose drywall tape, uneven joints, old patchwork, and nail pops. These issues should be repaired before a new finish can look smooth and intentional. A proper ceiling repair may include securing loose board, retaping seams, applying several coats of joint compound, sanding between coats, and priming repaired areas before texture or paint is applied.
Stains need more than a fresh coat of ceiling paint. Yellow or brown rings may point to a past roof leak, plumbing issue, condensation, or an active source of water damage. Before cosmetic work begins, a professional should confirm that the moisture issue has been resolved. Painting over an unresolved stain can lead to peeling, discoloration, mold concerns, or further drywall deterioration.
If water damage has softened drywall, caused sagging, or compromised insulation above the ceiling, removal and replacement may be necessary. This adds labor, drying time, materials, and cost to the project. Even a small repair requires careful blending so the finished area does not flash or show through under natural light.
At MrWalls Drywall & Painting, we evaluate the substrate before recommending a finish. Clear repair findings help homeowners understand the difference between a simple popcorn removal job and the restoration work needed for a durable, polished ceiling.
“Asbestos popcorn” deserves careful attention, especially in homes built before the mid-1980s. Some popcorn ceilings were made with materials containing asbestos, but appearance alone cannot confirm ceiling asbestos. A textured ceiling may look the same whether it contains asbestos or not. The risk is generally low when the ceiling is intact, sealed, and left undisturbed. Problems can arise when sanding, scraping, drilling, water damage, or deterioration releases dust into the room.
Before repairs, painting, new lighting, or popcorn ceiling removal, stop before disturbing the texture. The most reliable next step is testing by a qualified asbestos inspector or trained sampling professional, followed by accredited laboratory analysis. Avoid a diy sample unless you have appropriate guidance. Breaking the popcorn texture can create unnecessary exposure and spread debris beyond the work area.
A positive result does not always mean immediate removal is needed. A sound ceiling can sometimes remain in place with encapsulation, careful maintenance, and clear documentation for future work. If you need to remove popcorn or remove popcorn ceiling material because of damage, a leak, or renovation, professional removal may be the right choice. Licensed asbestos professionals use containment, controlled labor practices, specialized filtration, and proper disposal to help keep fibers from traveling through the home. Ask for an estimate or compare estimates before work begins. Ceiling cost, removal costs, and prices can vary by square foot, access, supplies, and the condition of the ceilings. The cost to remove popcorn ceiling per sq ft may also change when asbestos testing or abatement is required.
MrWalls Drywall & Painting helps homeowners plan the cosmetic and repair work that follows approved testing and abatement. Our painters can assist with drywall repair and a clean new ceiling finish after popcorn removal or popcorn ceiling removal is complete. For water-damaged or aging texture, the safest project starts with the right information, not a scraper and a guess. Request a quote to discuss ceiling removal, removal costs, and the next steps for your home.
A diy approach can work in a small, accessible room with a sound drywall ceiling and confirmed non-asbestos popcorn texture. Before you remove popcorn ceiling, protect floors, fixtures, vents, and doorways with plastic sheeting. Gather essential supplies: a pump sprayer, drop cloths, joint compound, sanding tools, safety glasses, and wide ceiling scrapers with clean, flexible blades. Lightly mist one manageable area at a time. Too much water can soften the drywall paper and increase ceiling removal costs. Work in small sections, holding the scraper at a shallow angle to lift the texture without gouging the surface. Removing popcorn is messy, and the follow-up labor matters most: patching divots, skim coating, sanding, priming, and painting determine whether popcorn ceilings look polished or patchy. For a textured ceiling, careful popcorn removal and texture removal can make all the difference.
Professional removal is the wiser choice when a home was built before 1980, when testing is needed, or when ceiling asbestos may be a concern. Asbestos popcorn and other asbestos-containing materials require qualified handling. Hire a professional when ceilings show staining, sagging, cracks, prior repairs, or moisture damage. Popcorn can hide uneven drywall seams, and repairs may be needed before painters apply a durable new finish. Large rooms, vaulted ceilings, occupied homes, and multi-room projects also require more containment and coordination than many homeowners expect. MrWalls Drywall & Painting can assess the substrate, provide an estimate and clear estimates, address damaged drywall, remove the texture cleanly, and complete the project with a smooth finish. Ask for a quote that explains ceiling cost, removal costs, labor, and material costs, including the cost to remove popcorn ceiling per sq ft. Comparing prices by square foot can help, but the right decision is about more than cost: it protects the home, limits dust and disruption, and ensures the ceiling is ready for lasting painting.
A textured ceiling does not always need the same solution. The best option depends on the ceiling’s condition, the home’s age, the desired finish, and the level of disruption that makes sense for the room.
For a sound ceiling with dated popcorn texture, professional popcorn ceiling removal can create a clean, modern surface ready for painting. Texture removal is a strong choice for homeowners who want brighter rooms, sharper lines, and ceilings that are easier to maintain. Before any removal begins, older materials should be tested for asbestos. Homes with asbestos popcorn or potential ceiling asbestos require appropriate testing, containment, and professional removal rather than diy methods.
If removing popcorn would reveal uneven drywall, old repairs, or patchwork, a skim coat may be the better route. A professional drywall team can apply a thin, continuous layer of compound to level the texture and prepare the surface for a refined paint finish. This approach is often less invasive than full ceiling removal while still delivering the smooth look clients expect.
Covering existing popcorn ceilings can also be practical. New drywall installed over a stable surface can conceal heavy texture, cracking, and cosmetic imperfections. Keep in mind that this option may affect trim, light fixtures, and ceiling height. When water damage has softened drywall, caused staining, or compromised framing, replacement is usually the responsible choice. Removing damaged material allows the moisture source to be addressed before new drywall is installed and finished.
Ceiling cost varies by method, room size, labor, supplies, access, and the condition beneath the texture. Ask for an estimate or several estimates that outline prices, removal costs, and the cost to remove popcorn ceiling per sq ft. A clear quote should also explain whether ceiling scrapers, containment, repairs, painters, and final painting are included. Costs are often measured by the square foot or square feet, especially for larger project scopes.
At MrWalls Drywall & Painting, we help homeowners weigh each option against the room’s condition, budget, and long-term goals. Whether the project calls for popcorn removal, remove popcorn ceiling services, a seamless skim coat, targeted repair, or complete replacement, careful preparation makes the final surface feel intentional, not simply covered up.
Accurate measurements make every popcorn ceiling removal conversation clearer. Measure the length and width of each ceiling area, then multiply them to find the total square foot count. For angled walls, soffits, trays, or connected open spaces, break the ceiling into simple rectangles and add the totals. Include closets, hallways, stairwells, and small adjoining areas. They may seem minor, but they affect labor, preparation, and material needs.
Your total square foot figure is a helpful starting point, but it is not the full picture. Ceiling height, furniture protection, access, paint condition, and painted popcorn texture can all influence removal costs. A smooth, unpainted ceiling in an empty room is typically easier to remove than a heavily coated ceiling above built-in cabinetry or in a tall stairwell. If you notice staining, sagging drywall, or past leaks, ask for those repairs to be listed separately from the texture removal work.
When reviewing an estimate, look beyond the final number. A professional quote should clearly outline what is included: site protection, containment, the scraping or removal method, disposal, skim coating where needed, sanding, primer, and final paint. It should also explain whether repairs are included and how additional drywall work will be handled after the popcorn texture comes down. Comparing detailed estimates with the same scope is the clearest way to understand the value.
You may find online averages for the cost to remove popcorn ceiling per sq ft, but those figures cannot reflect your home’s conditions or the finish you want. MrWalls Drywall & Painting provides a clear, project-specific quote so you can compare options confidently, understand the work ahead, and choose a finish that suits your home.
Pricing depends on ceiling area, height, texture condition, access, containment, repairs, disposal, and the finish selected afterward. Larger connected spaces may have better efficiency, while small rooms, vaulted ceilings, painted texture, and extensive repairs can increase the per-square-foot cost. An on-site estimate provides the most accurate scope.
A detailed quote commonly includes floor, wall, fixture, and furniture protection; controlled texture removal; debris collection and disposal; cleanup; and an assessment of drywall repairs. Ask whether skim coating, stain treatment, primer, and ceiling painting are included or listed separately.
Testing is strongly recommended before disturbing popcorn texture in older homes, particularly those built before the mid-1980s. Appearance cannot determine whether a ceiling contains asbestos. A qualified inspector or trained sampling professional can arrange laboratory analysis and recommend appropriate next steps.
Yes, but painted popcorn texture may take more labor to remove because paint can prevent water from penetrating and softening the material. The ceiling may need additional preparation, and scraping can reveal drywall imperfections that require patching or skim coating.
Removal can expose nail pops, drywall seams, cracks, old patches, uneven joints, stains, and water damage. Repairing these conditions before priming and painting is important for a smooth, consistent final finish.
The best option depends on the ceiling’s condition and your goals. Removal works well for sound ceilings with confirmed safe materials. Skim coating can level imperfections after removal. Covering with new drywall may suit stable but heavily textured surfaces, while replacement is often appropriate for sagging or water-damaged drywall.
DIY removal may be suitable for a small, accessible room with confirmed non-asbestos texture and sound drywall. Professional help is preferable for older homes, damaged ceilings, high or vaulted areas, occupied spaces, and projects needing repairs, containment, skim coating, or a finished paint system.