Learn when to skim coat drywall, what results to expect, and how DIY compares with professional finishing for smooth, paint-ready walls.
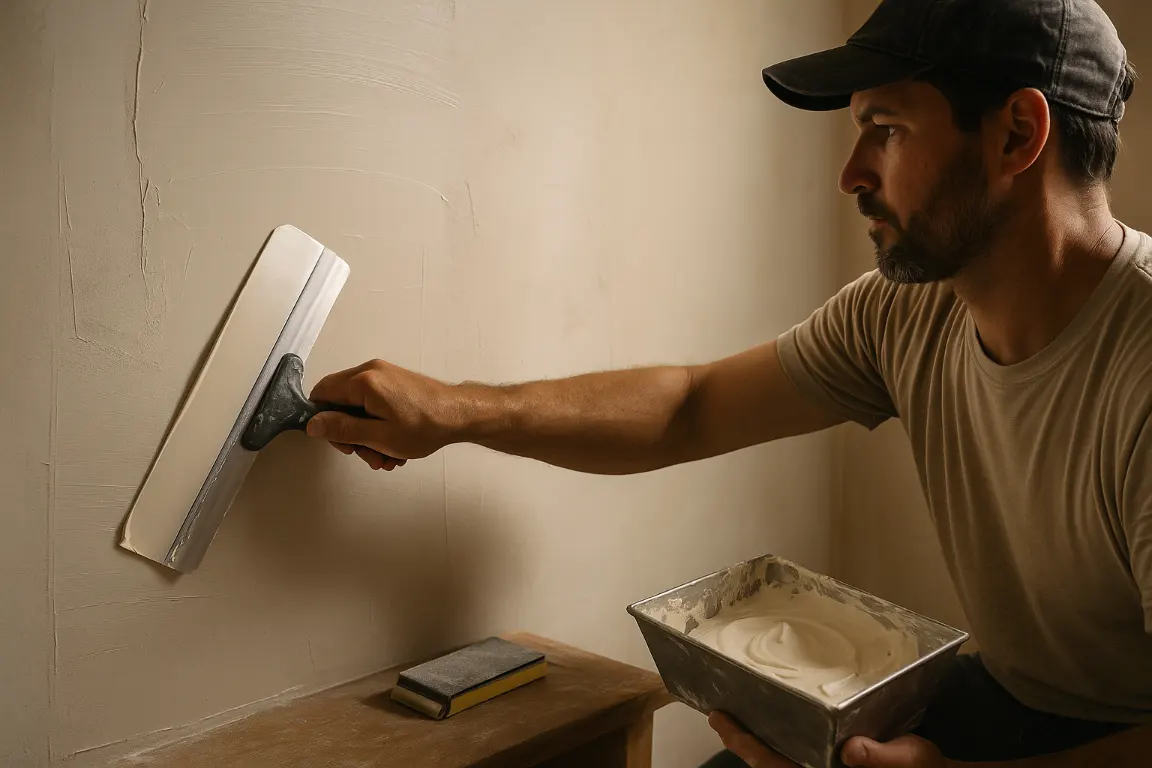
Skim coat drywall can turn textured, patched, or uneven walls into a clean surface ready for paint, but the result depends on preparation and technique. For small repairs, a patient DIYer may get there with the right tools. For whole rooms, ceilings, or damaged surfaces, professional finishing often delivers the smoother, more reliable outcome.
Skim coating creates smoother drywall by covering texture, seams, and minor imperfections with a thin layer of joint compound. While DIY spot repairs can work for small flaws, broad texture, patchwork, water damage, or high-visibility painted walls may need professional evaluation and a level-five finish. Address leaks, loose material, and failing joints first, then use proper preparation, compound, and dust control for lasting results.
Skim coat drywall is a thin, continuous layer of joint compound applied across a wall. This refined form of skim coating fills minor texture, seams, and imperfections, creating the even surface that makes walls smoother before painting.
Skim coating and a level-five drywall finish are closely related, but they are not always interchangeable. Skim coating describes the application method: a drywall professional spreads a thin coat of compound over part or all of a surface to reduce visible flaws, repair texture, or prepare for paint. It can be used as a targeted repair or as a full-wall treatment.
A level-five finish is a defined drywall finishing standard. It includes properly finished joints and fasteners, followed by a uniform skim coat or approved material over the entire surface. The result is exceptionally smooth walls with minimal chance of seams, patches, or joint lines showing through under glossy paint or strong side lighting. MrWalls Drywall & Painting can recommend the finish that suits your room, lighting, and paint choice.
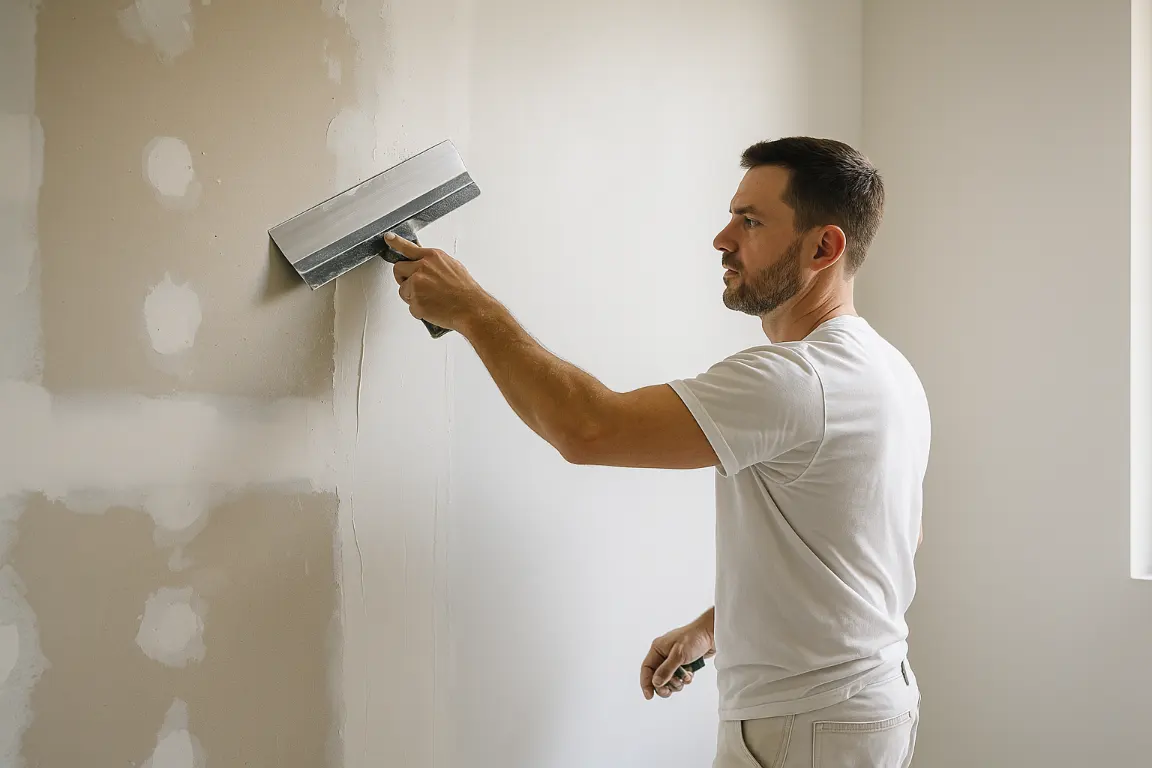
A skim coat is often the best path to smooth walls when texture, shallow damage, or uneven previous repairs affect an entire wall. It creates a consistent surface that paints cleanly and looks deliberately finished.
Not every imperfect surface needs skim coats. For a few nail holes, dings, or a small seam issue, a targeted drywall repair is usually faster and more economical. A full skim is better when broad areas show heavy texture, patchwork, torn paper, or visible transitions that would remain apparent under paint.
Wall liner can help disguise minor surface variation, but it is not a dependable answer for loose material, moisture damage, or failing joints. In those cases, the underlying drywall must be stabilized first. Replacement is the sound choice when panels are warped, extensively water-damaged, mold-affected, or structurally compromised. MrWalls Drywall & Painting evaluates the condition beneath the finish, then recommends the repair that will hold up, not simply the quickest cosmetic fix.
| Condition or issue | Best approach | When it fits | When it is not enough |
|---|---|---|---|
| Few nail holes, dings, or a small seam issue | Targeted drywall repair | For isolated, minor imperfections where a localized fix is faster and more economical | When broad areas have heavy texture, patchwork, torn paper, or visible transitions |
| Heavy texture, widespread patchwork, torn paper, or visible paint transitions | Full skim coat | When large areas need a smooth, consistent finish before painting | When the drywall is loose, moisture-damaged, warped, mold-affected, or structurally compromised |
| Minor surface variation | Wall liner | To help disguise slight variations in an otherwise stable wall surface | For loose material, moisture damage, or failing joints that require stabilization first |
| Warped panels, extensive water damage, mold issues, or structural damage | Drywall replacement | When existing panels are too damaged or compromised to provide a sound surface | For minor holes, dings, small seam issues, or finish concerns that can be repaired without replacing panels |
Before new paint or a ceiling update, examine the walls and ceiling for loose drywall, active water damage, cracks, and failing paint. Addressing the underlying condition first creates a cleaner, longer-lasting finish.
Paint can conceal more than it protects. Peeling areas, hairline cracks, nail pops, softened drywall, or uneven patches often point to repairs that should be completed before refinishing. Older plaster walls may need a different approach than modern drywall, particularly where previous repairs have created ridges or mismatched texture.
Water stains on a ceiling or walls deserve prompt attention. First, confirm that the source, roof leaks, plumbing issues, condensation, or an upstairs spill, has been corrected. Then assess whether the material is dry, sound, and free of staining or deterioration. MrWalls Drywall & Painting can repair damaged areas, blend texture, and prepare ceilings for paint or popcorn ceiling removal so the finished surface looks intentional rather than patched.
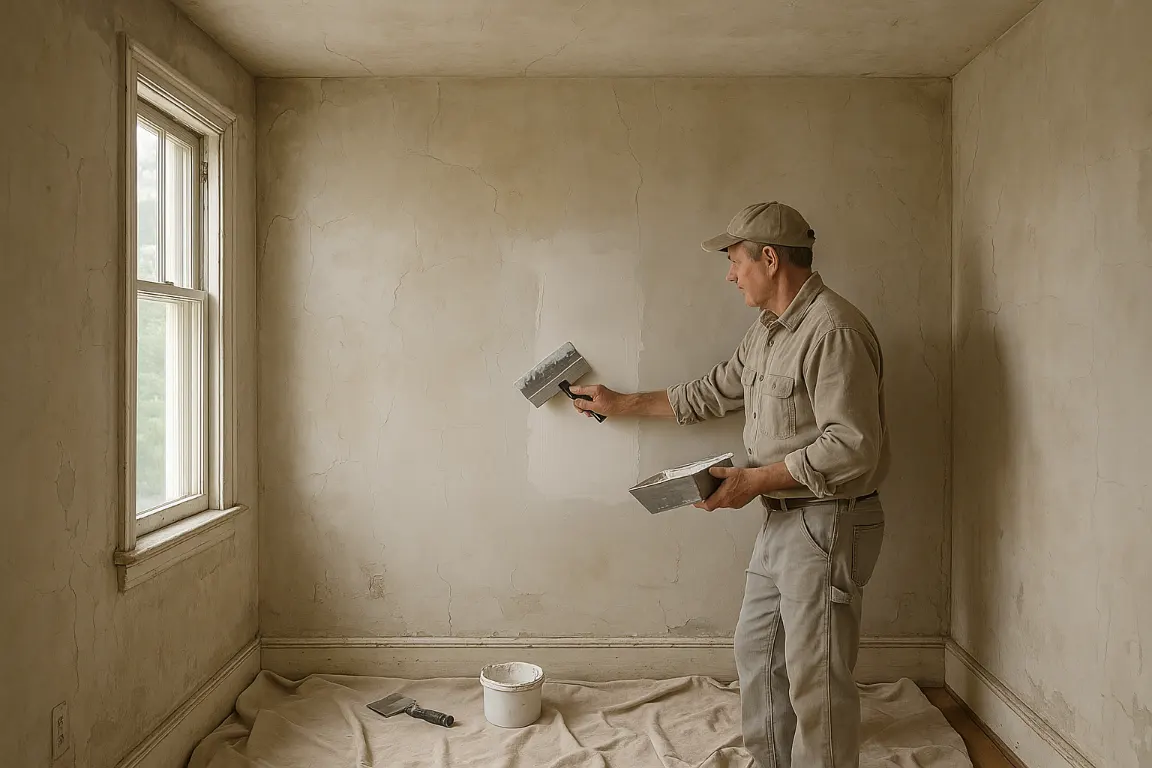
Successful patching starts with the right joint compound, a clean bucket, and dependable tools. At MrWalls Drywall & Painting, we use the appropriate drywall knife and workable mud consistency to create repairs that blend smoothly into the surrounding surface.
Before you mix mud, protect the room as carefully as the repair itself. Move furniture away from the work area, cover remaining pieces with plastic, and lay paper or drop cloths over the floor. Seal nearby doorways when sanding is expected, and turn off air circulation that could carry dust through the home.
Start with clean drywall compound in a clean pail. If it needs thinning, add small amounts of water and stir until the mud is creamy, smooth, and able to hold on the knife without dripping. Check the board for loose paper, crumbling edges, or moisture damage first; sound preparation makes cleaning easier and helps the finished patch disappear after paint.
To skim coat drywall cleanly, preparation and patience matter as much as the finish pass. Proper taping, sound drywall, and the right joint compound create a surface that is ready for smooth, even skim coating.
Mix the compound to a creamy, workable consistency, then load a wide drywall knife or squeegee with a modest amount. Apply a thin layer across a manageable section of the wall, holding the blade at a shallow angle and using long, overlapping strokes. The goal is not to hide every flaw in one pass; each skim should fill shallow texture and low spots without leaving heavy ridges.
Let the first pass dry completely, then scrape away lines or high edges before adding subsequent skim coats. Change direction on the next coat, vertical after horizontal, for example, to help level the entire wall. After the final coat dries, sand lightly with fine-grit abrasive, using a work light to reveal imperfections before priming.
Most repairs need two skim coats of drywall compound for a smooth, paint-ready result. The first coat fills seams, dents, or uneven areas; the second refines the surface and blends the repair into the surrounding walls. Deeper damage, heavy texture removal, or water-damaged drywall may require a third coat to restore a truly even finish.
Drying time matters as much as application time. Each coat generally needs several hours to dry, though humidity, ventilation, and the condition of the room can extend that schedule. A small repair may be completed in one day, while larger wall repairs or popcorn ceiling removal commonly take two or more visits to allow proper drying, sanding, and inspection. MrWalls Drywall & Painting plans the work around your space, protecting adjacent areas and allowing the compound to cure fully before priming or painting. Rushing this stage can leave visible joints or flashing under fresh paint, so careful timing delivers the cleaner finish your walls deserve.
Before primer or paint goes on, smooth walls deserve a close, unhurried inspection. At MrWalls Drywall & Painting, we check your walls in natural light and with angled work lights, which reveal shallow dents, raised seams, sanding scratches, patch edges, and uneven drywall texture that ordinary room lighting can hide. We also look for stains, soft areas, bubbling tape, or hairline cracks that may indicate previous moisture damage or movement. These details matter because primer can improve adhesion and help create an even finish, but it will not conceal surface flaws. Any repairs should be fully dry, properly feathered, and dust-free before painting begins. Taking this step protects the appearance of the finished room: color lays down more consistently, sheen looks uniform, and the wall reads as clean and intentional from every angle.
Most skim-coat problems trace back to preparation, mix consistency, or timing, not the final pass alone. A smooth wall begins with sound drywall, firmly set fasteners, clean seams, and the right primer or sealer for the surface. At MrWalls Drywall & Painting, we often correct bubbles by removing loose material and applying fresh mud over a properly sealed area. Ridges and lap marks are typically resolved with careful sanding, bright side lighting, and a thin, controlled skim coating pass rather than a heavy recoat. Hairline cracks require attention to the movement or seam beneath them before refinishing. If new paint flashes, peels, or looks uneven, the cause may be residual dust, insufficient drying time, or an unsealed repair. Addressing the underlying issue first produces a flatter finish, more consistent paint sheen, and a repair that holds up over time.
A DIY approach can work well for small cosmetic fixes: filling a nail hole, touching up a scuff, or repainting a single flat wall when you have the right tools, time, and patience. The decision changes when a repair affects the surface beneath the paint. Water stains, cracked drywall seams, damaged corners, and outdated popcorn ceilings often require more than a smooth-looking patch; they need the cause addressed and the texture, sheen, and surrounding finish carefully matched. Experienced contractors can identify hidden moisture concerns, prepare surfaces correctly, and create transitions that disappear in changing daylight. A skilled painter also knows when a “simple” repaint will reveal uneven repairs or flashing. For homeowners who want dependable results without repeated touch-ups, a pro is usually the practical choice for larger rooms, ceiling work, or any damage that could compromise the finish. MrWalls Drywall & Painting helps make that choice clear before work begins.
A professional assessment brings clarity when water damage, cracked drywall, or a compromised ceiling may involve more than a surface repair. At MrWalls Drywall & Painting, we provide clear, detailed estimates that identify the visible work, explain likely underlying concerns, and outline a practical path to restoring the space. This is especially valuable after a leak, appliance overflow, roof issue, or recurring moisture problem, when drying and repair must happen in the right order. Call experienced contractors promptly if the ceiling is sagging, drywall feels soft, staining continues to spread, mold is visible, or water has reached electrical fixtures. It is also wise to seek help when damage affects multiple rooms or a textured ceiling may require careful removal. A thorough estimate helps protect the building, avoid repeated repairs, and give you confidence in the scope, cost, and finish of the work ahead.
Skim coating is the process of applying a thin, continuous layer of joint compound over drywall. It helps fill shallow imperfections, old texture, seams, patches, and minor surface inconsistencies so the wall is smoother and ready for primer and paint.
Not exactly. Skim coating is an application method that can be used on a repair, one wall, or an entire room. A level-five finish is a recognized drywall finishing standard that includes finished joints and fasteners plus a uniform skim coat or approved equivalent across the full surface.
Spot repairs are often sufficient for isolated nail holes, dents, or small seam issues. A full skim coat is usually a better choice when a wall has widespread texture, repeated patches, torn drywall paper, uneven repairs, or visible transitions that may show after painting.
Yes, provided the existing surface is clean, stable, and properly prepared. Loose paint, failing texture, damaged paper, moisture problems, and weak joints should be repaired first. Painting over unstable material may cause the new finish to fail prematurely.
Only after the source of moisture has been corrected and the drywall is confirmed dry and sound. Warped panels, softened drywall, mold-affected materials, and extensive deterioration may require replacement rather than a cosmetic skim coat.
Smooth preparation helps paint look even and intentional. It is especially important with glossy or dark paint colors, as well as rooms with strong natural light or side lighting, where seams, patches, and surface texture can become more noticeable.
Protect floors and furniture with drop cloths or plastic, seal nearby doorways, and limit air circulation that could spread dust. Careful compound application also reduces sanding needs and helps keep the work area cleaner.