Learn how to assess, prepare, and scrape popcorn ceiling texture, with practical guidance for repairs, smooth finishing, and when to call a pro.
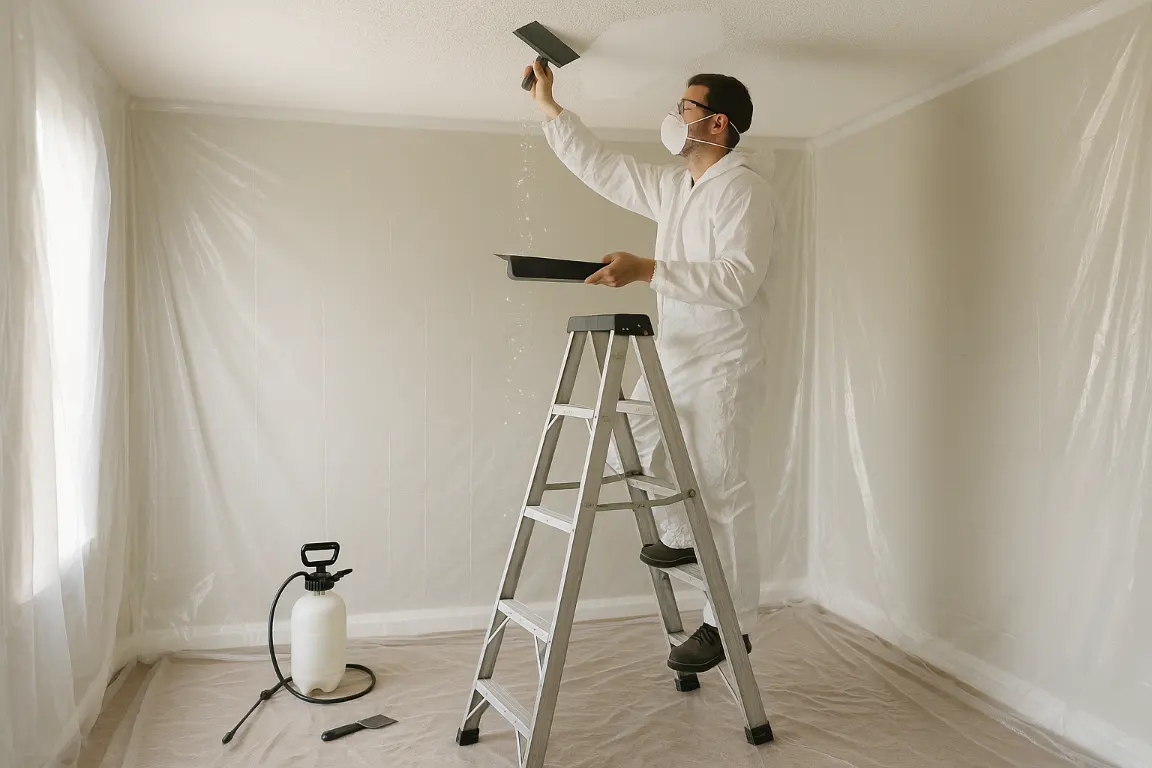
To scrape popcorn ceiling safely, start with a small test area. Protect the room, then use water sparingly, just enough to release the texture without soaking the ceiling. The process is straightforward, but older ceilings may contain asbestos, and rushed work can damage drywall.
With the right scraper, a steady hand, and a clear repair plan, this home improvement project can give your home a smooth, polished finish instead of a dusty aftermath. From cottage diy updates to a good application of joint compound and paper tape, here’s how to assess the ceiling, work cleanly, and know when to call a professional.
Safely removing a popcorn ceiling starts with asbestos testing, moisture checks, and thorough room protection. Once the ceiling is confirmed safe and dry, mist and scrape small sections gently to avoid damaging drywall. Repair cracks, seams, and imperfections with thin coats of compound, then prime and paint. Call a professional for water damage, sagging, recurring cracks, extensive repairs, or difficult finishing work.
A textured popcorn ceiling can make a room feel dated, dim, and harder to maintain. However, removal is not a diy project to start with a spray bottle and scraper. Before you scrape popcorn ceiling texture, MrWalls Drywall & Painting recommends reviewing your home’s age, condition, and construction. Good preparation helps protect everyone in the room, prevents avoidable drywall damage, and sets the stage for a polished repair and good application of paint.
Safety comes first. Some older ceilings may contain asbestos-containing material, particularly if the original texture has not been disturbed. You cannot identify texture by sight alone. If there is any uncertainty, arrange appropriate testing before sanding, scraping, drilling, or creating dust. Until results are clear, leave the popcorn ceiling intact. Even in a newer home, containment matters. Remove or fully cover furniture, protect floors, seal vents where appropriate, and manage dust throughout the work area.
Pause if you notice water staining, sagging texture, soft drywall, or a musty smell. Water from a roof leak, plumbing line, bathroom above, ice dam, or condensation can weaken ceiling board and cause texture to release unevenly. Removing the finish before correcting the source can uncover a larger repair. A proper assessment identifies the water issue first, allows the area to dry fully, and determines whether the ceiling needs patching, replacement, or stain-blocking before repainting.
Cottage ceilings need particular care. Seasonal temperature swings, higher humidity, older framing, and occasional roof movement can cause hairline cracks, uneven seams, and layers of earlier repairs. In many cottage spaces, the goal is not simply to remove popcorn texture. It is to preserve the room’s relaxed character while creating a durable, clean finish. Depending on the condition, the work may include targeted drywall repair, paper tape at compromised seams, skim coating, or a different ceiling treatment when full removal is not the best fit.
Once the ceiling is confirmed safe and dry, the project becomes much more predictable. A professional plan considers the texture’s bond, the drywall beneath it, access around fixtures, and the finish you want for the room. Careful preparation turns popcorn ceiling removal from a messy gamble into a lasting home improvement update.
| What to check | Warning signs | What to do before scraping |
|---|---|---|
| Material safety | Older, original ceiling texture or any uncertainty about its contents | Arrange appropriate testing before sanding, scraping, drilling, or creating dust. Leave the ceiling intact until results are clear. |
| Containment | Furniture, flooring, or vents are exposed to dust and debris | Remove or fully cover furniture, protect floors, seal vents as appropriate, and control dust throughout the work area. |
| Water damage | Water stains, sagging texture, soft drywall, musty smell, or signs of leaks, condensation, or ice dams | Trace and correct the water source, allow the area to dry, then determine whether patching, replacement, or stain-blocking is needed. |
| Cottage-specific ceiling condition | Hairline cracks, uneven seams, previous repairs, humidity exposure, seasonal temperature swings, or roof movement | Assess whether targeted drywall repair, skim coating, or another ceiling treatment is a better fit than full texture removal. |
| Drywall and finish planning | Weak texture bond, damaged drywall beneath the texture, limited access around fixtures, or an unclear desired finish | Confirm the ceiling is safe and dry, assess the drywall condition and fixture access, and plan the repairs and finish before starting removal. |
A diy popcorn ceiling removal project can transform a room. The best results start with careful preparation, not aggressive scraping. If your home was built before the mid-1980s, have a sample tested for asbestos before you scrape popcorn ceiling texture. Leave the surface undisturbed until you receive clear results. Once it is safe to proceed, clear the room, cover floors and walls with plastic sheeting, and turn off power to ceiling fixtures. A drop cloth alone is rarely enough. Wet popcorn can fall in heavy, sticky sheets and spread farther than expected, especially on older cottage ceilings.
Work in manageable sections of about four by four feet. Use a garden sprayer to mist the ceiling with clean water until the texture is evenly damp, not saturated. Let the water absorb for 10 to 15 minutes. Then test a small area with a wide drywall knife or dedicated ceiling scraper. The popcorn should release with light, steady pressure. If it resists, apply another fine mist and wait. Forcing the blade can tear the drywall paper beneath, turning a simple home improvement task into a larger repair project.
Hold the scraper nearly flat against the ceiling and pull it in one consistent direction. Catch debris in a tray or on the plastic below. Wipe the blade often so loose material does not drag across the surface. Near corners, vents, and light boxes, switch to a smaller putty knife and work slowly. Once the texture is removed, allow the ceiling to dry completely. Inspect it under angled light. Skim-coat minor flaws with joint compound, sand smooth, and spot-prime before painting. Repair exposed seams or damaged paper tape before finishing for a clean, durable result.
The final finish depends on patient prep and a good application of the right materials. Vacuum residual dust, remove protective coverings carefully, and apply a quality drywall primer for an even painting surface. If the ceiling shows extensive cracks, water staining, loose tape, or deep scraper marks, pause the project instead of painting over the issue. MrWalls Drywall & Painting can assess the substrate, complete drywall repair, and deliver the smooth, uniform ceiling your room deserves.
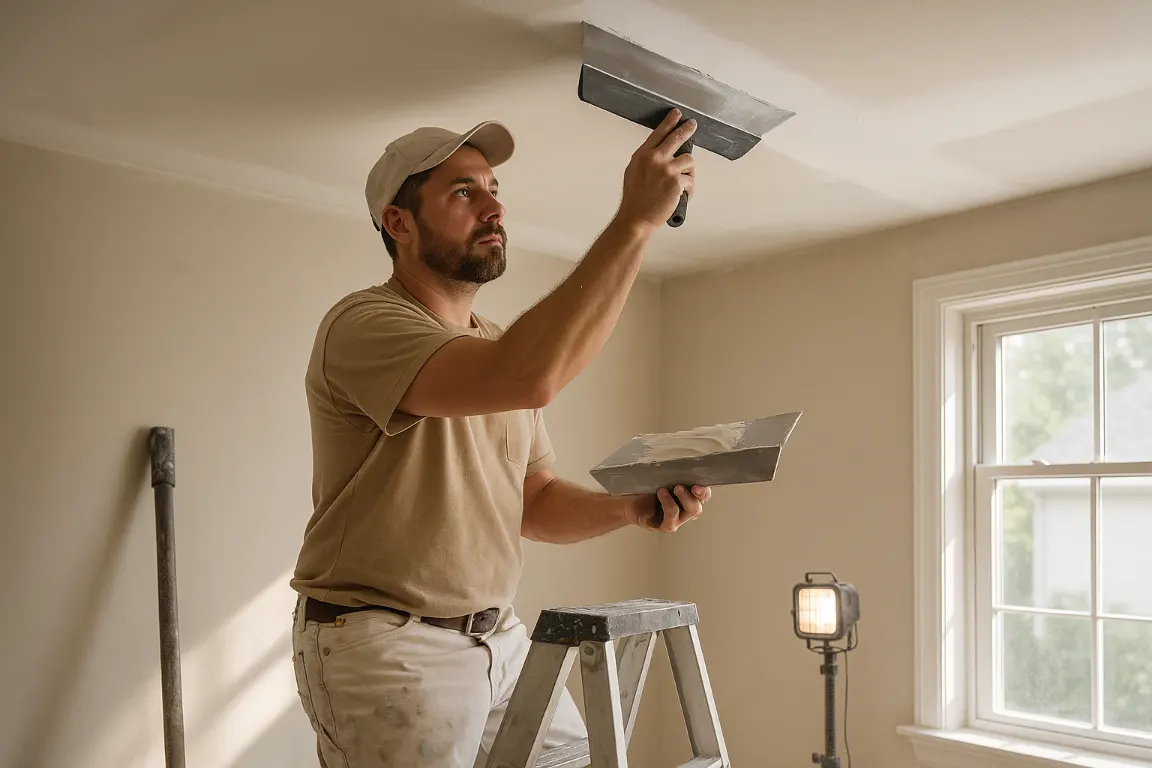
A successful drywall repair does more than hide a blemish. It restores a wall or ceiling so the work disappears in ordinary daylight. Small dents, nail pops, and minor anchor holes are often suitable for a diy project when the surrounding board is sound, dry, and securely fastened. The process is simple, but precision matters. Remove loose material, apply compound in thin, widening coats, let each layer dry fully, sand lightly between coats, and prime before painting. Rushing the sequence can leave a visible ridge, uneven paint sheen, or a patch that shows through the finish.
Cracks need a closer look. A recurring seam crack may signal movement, failed fastening, or earlier work that was not properly reinforced. paper tape remains a dependable option for flat seams and inside corners when embedded evenly in joint compound, without dry spots, wrinkles, or trapped air. A good application uses thin layers and broad feathering instead of heavy buildup at the joint. This is especially important for ceiling repairs, where excess compound is harder to control and may create an obvious low or high spot as light moves across the room.
Call a professional when damage is widespread, the ceiling is sagging or stained, cracks keep returning, or the repair involves water, texture matching, or suspected structural movement. Older home and cottage properties may also need testing before popcorn ceiling removal, especially where asbestos is a concern. If you plan to scrape popcorn ceiling texture, proper containment and preparation are essential. Large holes, damaged corners, bowed framing, and extensive patching can all be repaired, but they require careful preparation and a finish painter’s eye to blend the final surface into adjoining ceilings and walls. MrWalls Drywall & Painting can help distinguish cosmetic concerns from issues beneath the surface and determine whether repair, refinishing, or replacement is the soundest home improvement investment for your project.
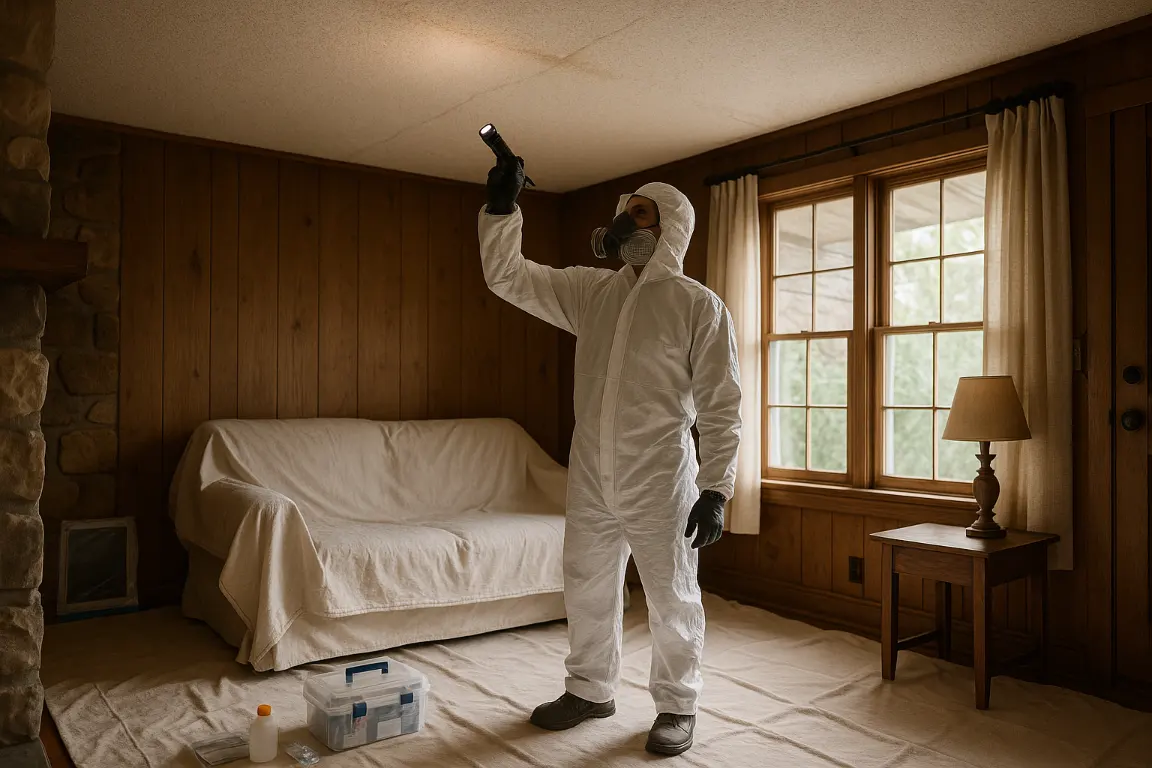
Yes. If the home was built before the mid-1980s or the ceiling’s history is uncertain, arrange appropriate asbestos testing before scraping, sanding, drilling, or otherwise disturbing the texture. Popcorn texture cannot be identified as safe by appearance alone.
Mist a small section with clean water, wait 10 to 15 minutes, then use a wide scraper held nearly flat to the ceiling. The texture should release with light pressure. Do not soak the drywall or force a dry, resistant surface, as both can damage the paper face.
Pause the project first. Water stains, soft drywall, sagging texture, or a musty smell can indicate an active or past moisture issue. Find and correct the source, let the area dry fully, and assess whether drywall repair or replacement is needed before removal.
Allow the ceiling to dry, then inspect it under angled light. Fill gouges, cracks, seams, and other imperfections with thin coats of joint compound. Sand lightly, remove dust, spot-prime repairs, and apply a quality drywall primer before painting.
Recurring cracks may result from framing movement, failed fasteners, weak seam tape, moisture, or an earlier repair that lacked proper reinforcement. Repainting alone will not correct the underlying issue; the cause should be assessed before repairing the seam.
Professional help is recommended for suspected asbestos, widespread damage, water staining, sagging ceilings, persistent cracks, texture matching, large holes, or structural movement. A qualified drywall contractor can determine whether repair, skim coating, refinishing, or replacement is the best approach.
They can be. Seasonal humidity, temperature changes, older framing, and roof movement may create hairline cracks, uneven seams, and previous patchwork. A careful assessment helps preserve the room’s character while creating a durable, smooth, paint-ready finish.